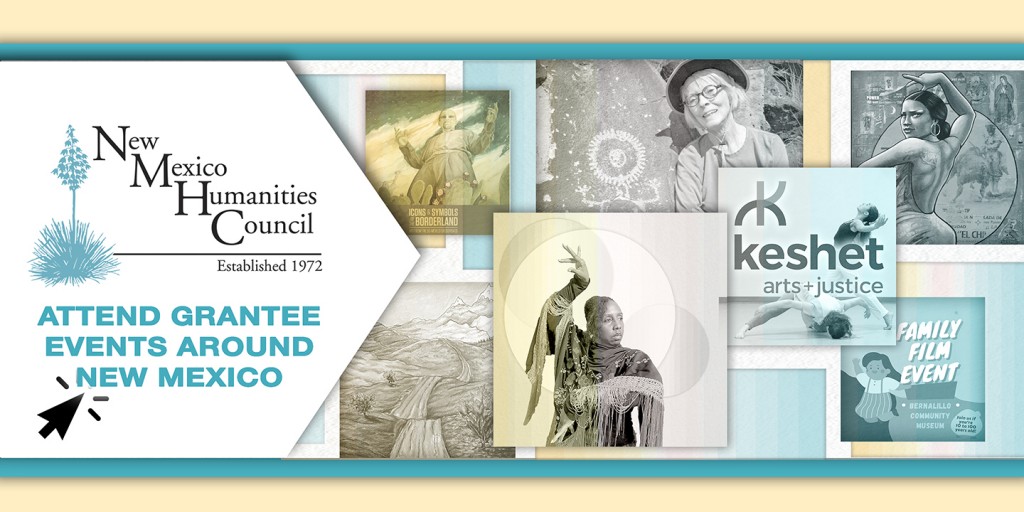
NMHC AWARDS OVER $127,000 IN GRANT FUNDS TO CULTURAL ORGANIZATIONS
1 Jan 2024
In December, the New Mexico Humanities Council Board of Directors selected 11 diverse and impactful projects for sponsorship through its Major Grant Program. A total of $127,452.76 is being awarded to...
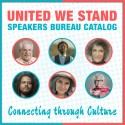
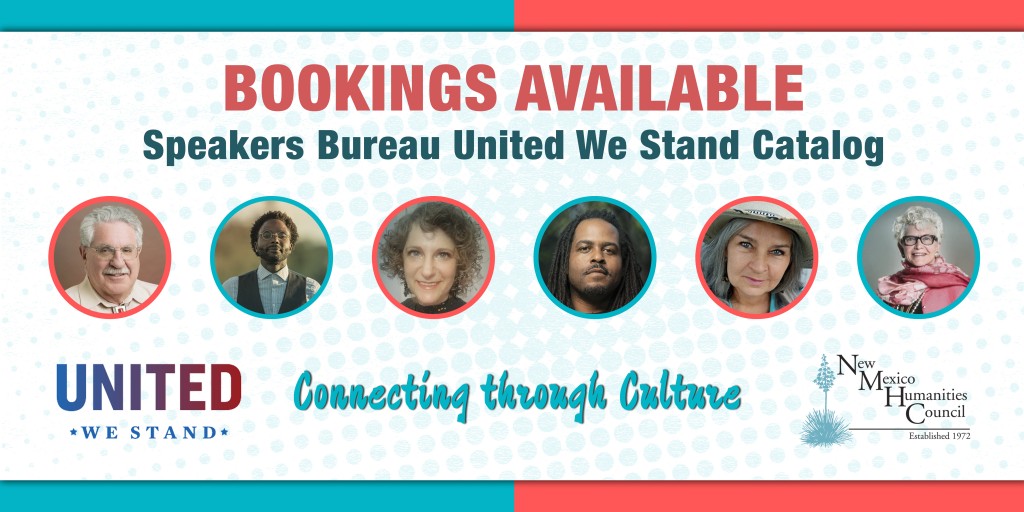
United We Stand Now Open for Booking!
1 Nov 2023
Please visit our new and improved catalog of Speakers to learn about the United We Stand Speakers' programs and book one today! To find the United We Stand Programs, click “Browse Programs”,...

Cuadernos Vol II
30 Aug 2023
Request materials HEREFree resource for classroom teachers, librarians and individuals to reflect on the personal impact of the COVID-19 pandemic, while exploring archival information celebrating food...


Annual Report and Financial Statements
9 May 2023
To review our 2020 and 2021 Annual Report click HERE.To request a hard copy of the current annual report, please send your mailing information to info@nmhumanities.org.


Pasa Por Aquí - Open Call for Submissions
27 Jan 2021
The New Mexico Humanities Council is seeking contributors for its new blog! Let us take this opportunity to introduce Pasa Por Aquí – the NM Humanities Council’s...


NMHC AWARDS OVER $127,000 IN GRANT FUNDS TO CULTURAL ORGANIZATIONS
In December, the New Mexico Humanities Council Board of Directors selected 11 diverse and impactful projects for sponsorship through its Major Grant Program. A total of $127,452.76 is being awarded to...
National Arts and Humanities
A Proclamation on National Arts And Humanities Month, 2022 For centuries, American arts and humanities have been a beacon of light and understanding, recording our history and advancing new ways of thinking. This National Arts and Humanities month, we celebrate our Nation’s visionary artists, scholars, and creators whose work touches and reveals the soul of America. My Administration is committed to making the arts and humanities more accessible to people of every age and background, uplifting more voices, inspiring new generations, and showing the full power of our example as a great Nation. We have invested hundreds of millions of dollars in strengthening the National Endowment for the Arts (NEA) and the National Endowment for the Humanities (NEH), and our American Rescue Plan allocated over a billion more to help museums, libraries, theaters, concert halls, and other venues recover from the pandemic. This critical support comes on top of a historic Executive Order....

Billy the Kid, circa 1873 - 1881. Ben Wittick. Wikimedia Commons.
SO MANY BILLY THE KID STORIES—ANY LESSONS IN THEM?
Mon, Apr 1, 2024, 10:18am | By Richard Etulain
More has been written about Billy the Kid than any other New Mexican. He also rivals Jesse James and General George Custer as the most-written-about figure of the Old West. And dozens of books and...

In the warm embrace of the pan, tomatoes find their poetry.
Mundane Majesty: The Food Odes of Pablo Neruda
Mon, Apr 1, 2024, 9:05am | By Vanessa Baca
…the tomato,star of earthrecurrent and fertile star,displaysits convolutions,its canals,its remarkable amplitudeand abundance,no pit,no husk,no leaves or thorns,the tomato offersits giftof fiery colorand...
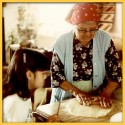
The author making cookies with her grandmother in 1984. Photo courtesy of the Suina family.
The Bandana Brigade: With Hearts and Hands, Women Do it Together
Fri, Mar 1, 2024, 10:24am | By Kim Suina Melwani
It is clear when looking around our community that women have a hand in everything. When I was a kid, one place where this was evident to me was at my grandmother’s house. I would awaken to the smell...
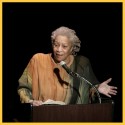
Toni Morrison speaking at "A Tribute to Chinua Achebe - 50 Years Anniversary of 'Things Fall Apart'". The Town Hall, New York City, February 26th 2008. Photo Courtesy of Wikimedia Commons.
Beloved Word Warrior: The Power of Toni Morrison's Pen
Fri, Mar 1, 2024, 8:50am | By Cathryn McGill
Fighting battles for control has been a constant in our society. In this world where violence, both past and present, continues to fracture our societies, Toni Morrison's pen emerges not just as a tool...
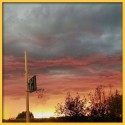
In Estancia, New Mexico, A Basketball Hoop Against the Backdrop of a Sunset’s Vibrant Hues. Photo by Marie Zamora.
The Benefits of Living in a Small Town
Fri, Mar 1, 2024, 7:26am | By Olivia Thomas
Estancia, N.M., is a small, rural town 57 miles southeast of Albuquerque. Considering that this town has more stop signs than people, most people probably have not heard of it. Now living in Las Cruces...

Author, poet and blog contributor, Darryl Lorenzo Wellington.
Reflections on the Black Footprint in New Mexico
Wed, Jan 31, 2024, 12:00am | By Darryl Wellington
Let’s begin with a story that reflects my concerns that the Black presence isn’t significantly appreciated – but that simultaneously reaffirms my belief in the importance of teaching New Mexican...

Valentine's Day greetings card of 1909. Credit: Wikimedia commons
Hate Valentine’s Day? Try Celebrating It Anyway
Tue, Jan 30, 2024, 8:57pm | By Monika Dziamka
As the shiny excitement of the holiday season wears off, do you groan at the thought of Valentine’s Day looming ahead? Does the sight of pink and red decorations and heart-shaped trinkets make you...
NEW MEXICO HUMANITIES COUNCIL
Who we were
Who we are and
Who we aspire to be
We seek out, fund and conduct quality humanities programs for presentation to public audiences throughout the state. We support a wide variety of programs, projects and organizations-- topics can range anywhere from local history and culture to international affairs. Explore our website to learn how we support public programs in New Mexico communities which inspire inclusive conversations that strengthen our civil society and celebrate diverse human experiences.
Statement on Diversity and Inclusion from the New Mexico Humanities Council
1 Jul 2020
“Seeking to understand who we are, who we were, and who we aspire to be.” This statement is more than a pithy tagline for the New Mexico Humanities Council; we actively seek to provide New Mexicans with opportunities to cultivate mutual understanding and respect through its programming and grants.
Over the past weeks and months, our nation has experienced tremendous upheaval, particularly in response to the persistence of individual, institutional, structural, and systemic racism in our society. In the interest of addressing these social barriers, the New Mexico Humanities Council pledges to continue to develop, nurture, and fund programs and grant partnerships that use the tools of history, ethics, literature, and the examination of the arts to bridge gaps of culture, knowledge, and experience between New Mexicans. Our aim is to help each of us determine who we aspire to be both as individuals and members of larger communities. By helping to build these bridges of understanding and respect, we hope to play our part in working towards a more just society.
In the past year, we partnered with representatives from diverse communities to amplify the many voices and perspectives that make up New Mexican society. Some examples of this collaborative work include:
- 400 Years (1619-2019): Knowing our African American Past and Creating our Future, an art exhibit and discussion program that brought together artists and community members to discuss the resiliency of the African American community in the wake of the 400th anniversary of the arrival of ships carrying enslaved Africans to America (with the New Mexico African American Artists Guild).
- Bright Spaces, Welcome Places, a community-created art exhibit and public programs celebrating lesbian, gay, bisexual, transgender, nonbinary, and queer resiliency and health (with Fierce Pride).
- A concert and post-performance discussion led by the members of the Pakaraguian Kulintang Ensemble, which preserves the ancient Filipino musical tradition of kulintang (with the Filipino American Community Council).
While we are proud of the work we have done, the current moment demands reflection on what more we can do. In addition to continuing the cultivation of community partnerships alongside our funders and collaborators, the New Mexico Humanities Council is committed to creating and supporting opportunities and spaces for dialogue and expression. Please join us as a donor, partner, scholar, or engaged citizen in the important and meaningful work of building a better New Mexico. Don’t hesitate to contact Brandon Johnson (bjohnson@nmhumanities.org; 505-633-7376) to talk about how you’d like to be involved. We look forward to hearing from you!


